Saturday, April 23, 2022

Japanese roombox. Day 4

What were we lacking to do?  The ceiling!  This time the wallpaper comes from the collection of Pixelmarket, and I think that, even though it is supposed to be a floor, it looks very pretty as ceiling as well:

It was very easy to mount: just 2 sheets put together

The seam is barely visible in the dark plank


Lovely!

I still have not attached the ceiling to the roombox, since there is still so much work to be done.  However, I still have to decorate the outside walls, and I already have chosen with what.  But I have to take the files to be printed in a copy shop, as I need them in A3.  More on that soon!

Tuesday, April 19, 2022

Free printable! Superheroes coloring book.

I was talking to my friend Nikolai the other day about superheroes and movies, and of the blue I had this idea of doing a coloring book with superheroes.  Designing coloring books is so much fun for me!  Specially if it is of a theme I enjoy.

So here is the printable for you to make your own - I am sure your dolls will love it!


Feel free to print as many times as your like, make gifts for your friends and pass the file along to anyone - links back are nice too! Just please do not sell the file or your creations.  Thank you and enjoy! ♥♥

Sunday, April 17, 2022

Free printable! Easter coloring books

Happy Easter to all!

To celebrate, I am happy to offer a printie for your Easter scene: some Easter coloring books, both for kids and adults - in case your dolls want to have a fun time.

Feel free to print as many times as you like, make gifts for friends and share the link if you like.  Just please do not sell the file, or your creations.  Thank you and enjoy! ♥♥

Friday, April 15, 2022

Japanese roombox. Day 3

Yesterday I almost wrapped up.  So I just finished putting the finishing touches in the last wall - a couple of decorative beams, and voilĂ !  The Japanese room is finished!  At least, the construction process itself:

A vision of beauty! ♥

What is left to do but glue all the walls?  Well, the ceiling, naturally, but that will have to wait.  I was so, so excited to start decorating! So, while the glue was drying up, I unpacked all the accessories that I had been collected for this moment, and started the display.  First off, a lovely table, also the creation of Ana, was put in place first.  It is all paper and foamboard.  It took me about 30 minutes to do, and I finished it off with some Mod Podge so it would look shiny:

Love it!

A little bit of food - it was almost lunch time!

Oh my.  How long I have waited for this...

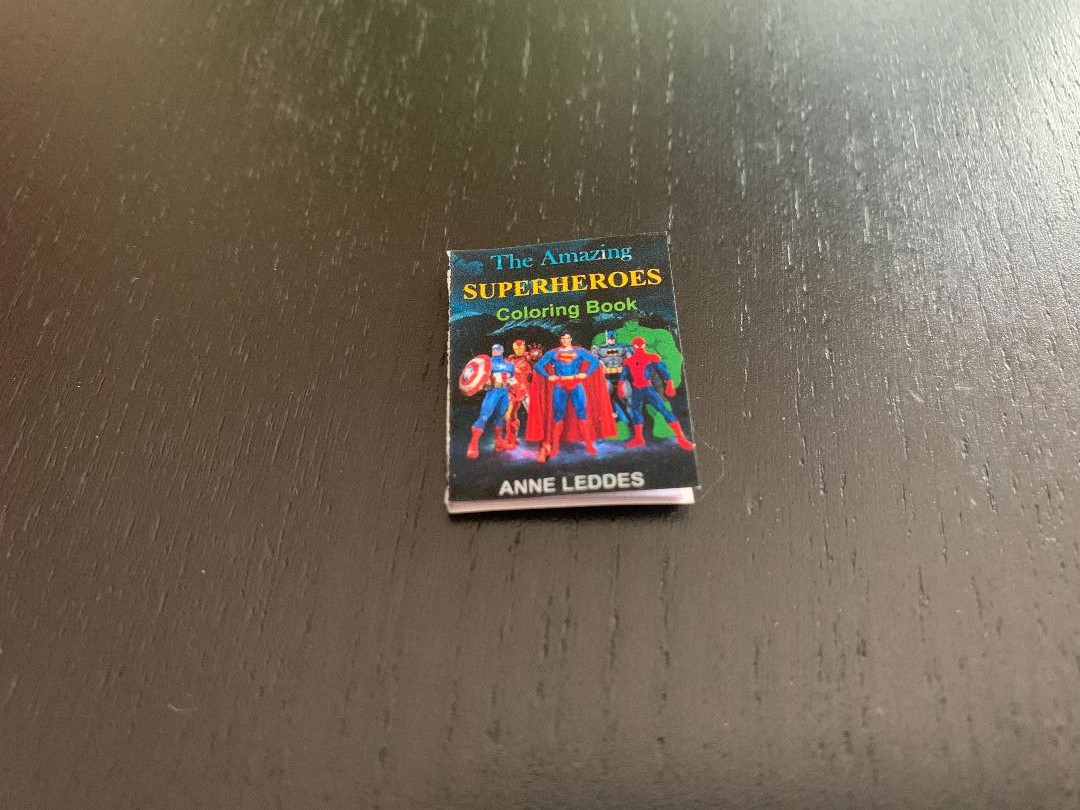
The pictures and the book are also Ana's creations.  I won't hang the pictures until some more furniture has been placed, as well as the lamps that will iluminate the scene - that is something that I am planning to do from scratch!  The cabinet is a spice cabinet full of tiny drawers and pigeon holes - I am sure I will not be able to find anything so small to fill them.  The tiny tea box on top of the cabinet is from Zenas Miniatures.  

It was so exciting to start thinking in little details to add, and decorations too!  I made a couple of sake bottles after lunch:


I spent the afternoon window shopping, and I have already ordered some little details to display, as well as some furniture.  I can't wait for them to show up, but it's going to take some weeks!  In the meantime, I'll keep thinking of little things to add!

I am so happy with everything.  Tomorrow, the only thing that is left: the ceiling.

Thursday, April 14, 2022

Japanese roombox. Day 2

I started early because I was eager to continue seeing progress.  First things first, to finish the left wall.  For starters, I finished the beams, made a 3D door and glued it in place:


3D door

Glued in place

Trying the wall for effect.  Love it!

Next, the right wall.  Pretty much like the left, but sans the door.  I started with the white cardboard (cheapest wallpaper ever, two A2 sheets for just 1 euro!), and added the wainscott and the little wood beams:


Fabulous!

Just one wall left!  I started with the cardboard, of course, and added the wainscott and the upper wood beam:


So clean lines!  I love the effect!

I am torn with this last wall.  I had been thinking of adding a window with views to a garden, as a mirage.  But after several tryouts it did not really appeal to me.  So today I will just add the last beam and keep it simple - very zen!  More room to decorate!

Wednesday, April 13, 2022

Working on a new scene: Japanese Roombox. Day 1

It's almost 2 years since I bought a roombox, hoping to do a Japanese scene on it.  I decided it was a perfect moment to start, taking advantage of my Easter holidays.  So yesterday I started the work, and this is what I accomplished on day 1.

Firstly, I took out all the components, and did a dry fit to ensure correct placement of the parts:


I was pleasantly surprised to see it had fitted corners, like puzzles pieces

They all fit perfectly!

 Since I know better now, instead of gluing together the walls and floor, I decided to wallpaper and put the floor before any other work.  So I spread out all the walls as to not make mistakes, and started by printing a beautiful tatami floor, work of the talented Ana Circea:

Starting with the center piece: the floor

Pieces fit together like a puzzle

Just the little upper corner missing...

Done!  Then trimmed to size

Looking good!!

First piece done, 3 to go!  Next one, the left wall.  For this, I covered the entire wall with white cardboard, and then placed a sliding door in the center - also from Ana's shop:

Simple white cardboard - it is a bit texturized, but you cannot see that in the picture

Sliding door, and some molding to decorate

Perfect!

Trying both parts together for effect.  Love it!

I still needed to add some beams for decoration, but the natural light was getting low, so I stopped the work right here.  

More pics tomorrow of the progress!