Sunday, July 26, 2020

Kassandra's DVDs collection

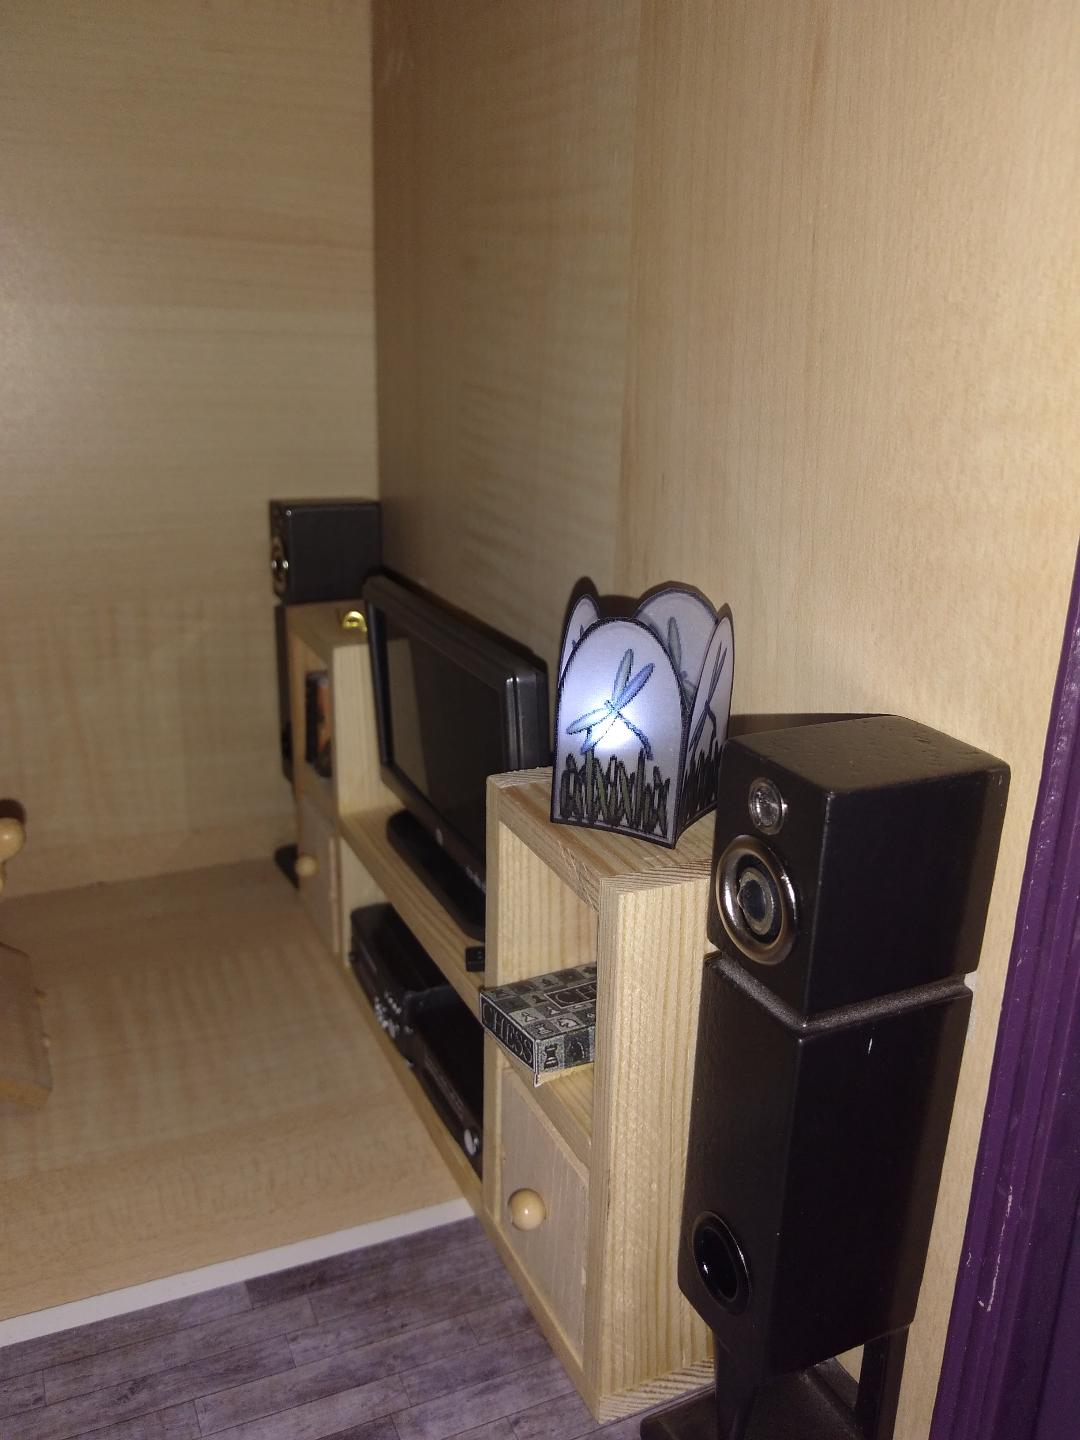
Today Kassandra and I starting unpacking some DVDs and Blu-Rays that just arrived.  Now that she had delivered a home-cinema setup, she wanted to have some entertainment for the children when they visit, and so we started organizing her collection.


"I have always assumed that vampires enjoy movies", I said.  "After all, they can be enjoyed anywhere; and these days of streaming, no need to even go out of the house to watch them".

"You are quite right, it is something thay we all in the family enjoy.  As you can imagine, I like to watch every vampire movie that comes out; some are sillier than others, but many are quite interesting.  Some of them even get a couple of things right about us.  We just watched yesterday "The Old Guard", which I thoroughly enjoyed.  They were not vampires in the strict sense of the word, but they managed to portray the vampire point of view regarding many things quite correctly.  I particularly liked Andy.  She reminded me of me.  Well, I was never a warrior like her, even though I have had my share of battles.  And the relationship between Joe and Nicky is one of the most beautiful I have seen in movies in a long time.  I hope we get to see a sequel."

"You know what a sequel is?"

"Ha!  I am educating myself in modern cinema.  I recently watched the Star Wars saga.  How fun!"

---------------------------------------------------------------------------------------------------

Since we all have our favorite movies, I thought it would be fun to include some titles in Kassandra's new home.  So yesterday I spent a good portion of the afternoon making DVDs and Blu-Rays for her collection.  They are very easy, fun and cheap to do!  Here is a tutorial for you to build up your own collection:

Materials you will need:
internet access o scanner
a piece of scrap paper
white regular paper
color printer
cello tape
scissors
Eva foam (blue for Blu-Rays and/or black for DVDs)
white craft glue
Optional: tweezers and toothpick

1- Gather up your covers.  You can scan the ones you have at home, or you can search for them on the internet.  The more modern they are, the more chances you will have to find them.

2- Use a photo program to reduce them in size.  For DVDs, you need a 1,5 x 2,2 cm image; for Blu-Ray, you need a 1,4 x 2,5 cm image.  If it is easier for you, I am happy to provide you with templates to use.  DVD and Blu-Ray.  Your image has to fit inside the black lines.  Also, make them 600 dpi.  That way you won't lose resolution.

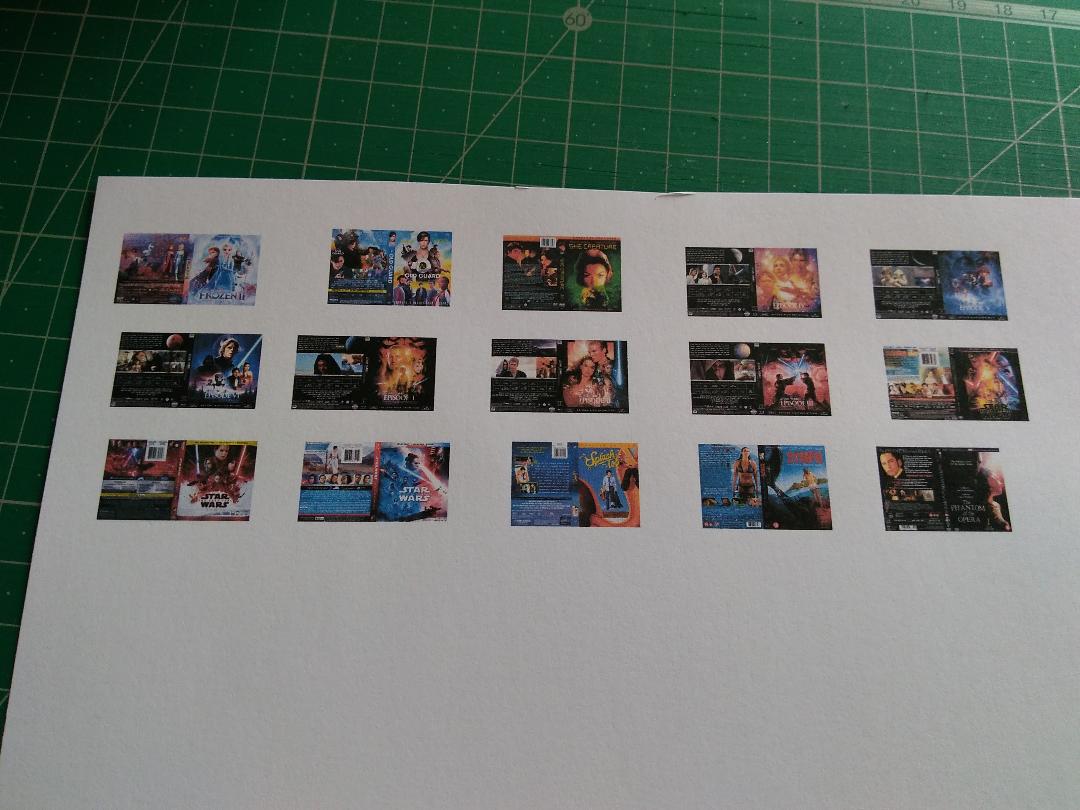
3- If you feel lazy to find your own, here is my collection; you can see I favor fantasy movies and mermaids.  The Blu-Rays are on top, and the DVDs on the bottom.

4- Print them out.  


5- Cover them with a strip of cello tape, before you do any cutting.


6- Now you can cut them up.


7- Take the Eva foam of your preferred style and cut a strip the size of your film cover:


8- Take the cover and wrap it around the Eva foam, making sure to align the spine of the movie with the foam:


9- Cut to measure:


10- Make sure there is no foam sticking out of the cover.  If so, trim the excess:


11- Put a small amount of white glue on your scrap paper and use the toothpick to extend it on the back of the cover.  You can use the tweezers to hold it so your fingers will not get covered in glue:


12- Glue the cover around the piece of Eva foam:


13- Make sure all the corners are glued.  Hold it with your fingers for some moments while the glue sets.  You have you new Blu-Ray!  Congrats!!


Now get crazy!  The more you make, the easier to do they become:


I hope you enjoyed this tutorial and have lots of fun making your collection!

Tuesday, July 21, 2020

The attic is finished, and The Island is ready to be enjoyed!

Today Kassandra and I retook the work in the room of the attic.  Since the ballet studio is finished, she now wants to have available a little space to craft and entertain herself.  

We started adorning the walls with white shiplap wallpaper.  As always, it was challenging to cut the hole for the window, but it was fine in the end:


Then, we installed the floor.  A minty colored, Andalusian inspired design:


Kassandra thinks it adds a Mediterranean vibe to the room.  I think it looks lovely.

"Why have we not wallpapered the last wall?", I asked, realizing we had one left.
"Oh, we are not using ordinary wallpaper in that wall".
"What are we using then?"
"You'll see..."

We started unfolding the paper, and I was very surprised when I saw what Kassandra wanted up:


It is so unlike her that I could not help to say:

"Well, that is a very modern approach".
"You think?"
"Why, yes.  It is now fashionable to use nature photographs to decorate a room".
"Oh, this is not just any photograph.  It was taken in our island".
"Your... island?"
"Oh yes.  Every summer we gather there to spend a couple of months.  The kids love to run in the beach, and we the adults enjoy the peace and quiet.  We have a very nice house with a couple of pools, and we do luaus, cocktail bars and sometimes even little concerts to amuse ourselves."
"Somehow I cannot imagine a family of vampires at a sunny beach".
"Well, not all of us are vampires, dear.  Besides, I do not expose myself to the Sun.  I am not so modern as to that.  But I do enjoy some swimming when the sunset is near.  In fact, I think I will call this room The Island."
"It is a very adequate name, I think."


Some furniture already in place
We are currently waiting on some more furniture to decorate.  More on that soon!

------------------------------------------------------------------------------------------------------

Fantasy apart, the beautiful picture is from Florida, taken by the talented Evona, from Artsy Miniatures.  Go and check out her fabulous shop!

Thursday, July 16, 2020

Turtles at Kassandra's

Today I visited Kassandra, and I found her busy, getting settled... a pair of turtles!  That was most peculiar, and so I asked her about them.
 
 
"Oh, these are Cassiopeia and Sirius".
"Are they yours?"
"Oh, no, they belong to the children.  They were a gift of a classmate that breeds turtles.  They are staying here while summer lasts."

-----------------------------------------------------------------------------------------------------

Fantasy apart, I saw these tiny turtles at the Beautifully Handmade shop, and fell in love with them!  I wanted to buy this lovely set up:


But it was gone when I went to purchase it.  So I decided I had to make my own.  Firstly, I cut some popsicle sticks to make a box for the turtles:

My arm hurt after all the wood cutting...

Gluing the boards

Trying the box with the turtles for size... Good enough!
Then, I covered the inside with a brown cardboard, spread a thin cover of glue and sprinkled some fake sand over it:


Adding on some green tufts
But of course, the turtles needed a little refuge, and half a pot was not enough.  So I made for them a little house with some spare parts of balsa wood:


And it looks great!
I still have to make for them a little food, like some lettuce, tomatos or strawberries.  But I enjoy having some pets in miniture!


Tuesday, July 14, 2020

The haberdashery shop is finished!!

Soooo happy today!  The haberdashery shop is finished.  Well, we know this kind of projects in miniature are never truly finished - you never know if you can find THAT perfect little thing that goes so well with your scene, and you simply just need to have.  You do not want it, you absolutely NEED IT!

I am proud to say everything, every last little thing, every single tiny microscopic little thing (sorry, a bit of Corpse Bride song here!) comes from Zenas Miniatures shops.  Well, except for a couple of details, really.


I loooove the button boxes!

The thimbles are pieces from Bindels Ornaments

The veil box, I designed it myself a long time ago.  It has a piece of veil inside!
I absolutely love the scene!  And I am in love with all the mourning line from Zena.  If I had had more room, I would have included her beautiful mourning fan display!

Next project, the terrarium box for Kassandra's turtle pets!

Sunday, July 12, 2020

Two new hand-made minis

I had seen recently a nice wood box containing a pair of flintlock dueling pistols.  I fell in love with it, but the selling price was way out of my range.  So I decided to make my own.

To do that, I purchased a simple and inexpensive sewing box (the same model I used to make the coin collection):


I stripped it of everything it had (it wasn't as difficult as I thought it would be):


Then I took red suede paper to cover the inside:


Then I was adventurous and tried to put some hinges in the lid, which was hold by a strip of masking tape.  It took some effort, but it was doable:

The pistols fit just barely, but surely!
Then I decided to use the little drawer to hold some bullets, that I made of silver polymer clay:

Finished!
The original one had a green interior, and no drawer.  And the main compartment was bigger.  But I am very happy with it, and it looks wonderful in the museum:


Also, I made a couple of lamps with vellum paper and some LED lights:


It looks great in the patio!


These are the beautiful children of Suzy, go check if there is something in her shop that you like!  Kassandra is very happy to have modern, but no-so-modern lights in the house!