Since we have just moved our big house, Kassandra thought it was the perfect moment to have some major renovations in hers.
She asked that I finally put wallpaper in her walls. I bought the dollhouse already mounted (at the time I did not want to deal with the building up), and it came with a rather dull, standard beige with white flowers wallpaper. I had been waiting years to find the perfect wallpaper for her, and since she knows I finally found it, she insisted it was time I redecorate the whole building.
To tell the truth, I was very anxious to not make any major mistakes that could ruin the whole appearance, but I found that putting up wallpaper is rather simple and fun, although time consuming.
First of all, I made several visits to Ana to buy different wallpapers sets. Hers are the best wallpapers I have ever seen. So different and out of the ordinary. Really, Halloween papers are fun, but for people with inclinations and tastes like Kassandra's, those simply would not do. Ana's wallpapers are regal, scrumptious and luscious.
First, clearing out the space. With our recent move it was easy, as everything was securely packed. You can see the awful wallpaper the house had all these years, and the stains caused by the Blue Tack holding the pictures.

For the bedroom, I chose the Red Velvet Panel wallpaper. It is just perfect. Fancy that Ana called it the Count Dracula! First I decided the layout, and modified the images so they would fit my walls height. Then I took scrap paper and made patterns of the walls. I printed the images in matte photographic paper and cut them using the patterns as guides.

In this pic, you can see that I made I mistake. I cut the wallpaper from the top instead of from the bottom, so I lost the pretty golden design. I had to reprint and cut again. And then, for the dreaded moment of attaching the paper to the wall. I knew I had several options, but I finally opted for using double-sided tape.

I was so nervous when glueing it down! But I think it looks pretty nice. Then I did the two side walls the same way.
 |
| Peeling the double-sided tape before glueing the paper |
 |
 |
| And the room is completed! Or so I thought... |


 |
| So gorgeous! |
Now, I thought, it is finished!
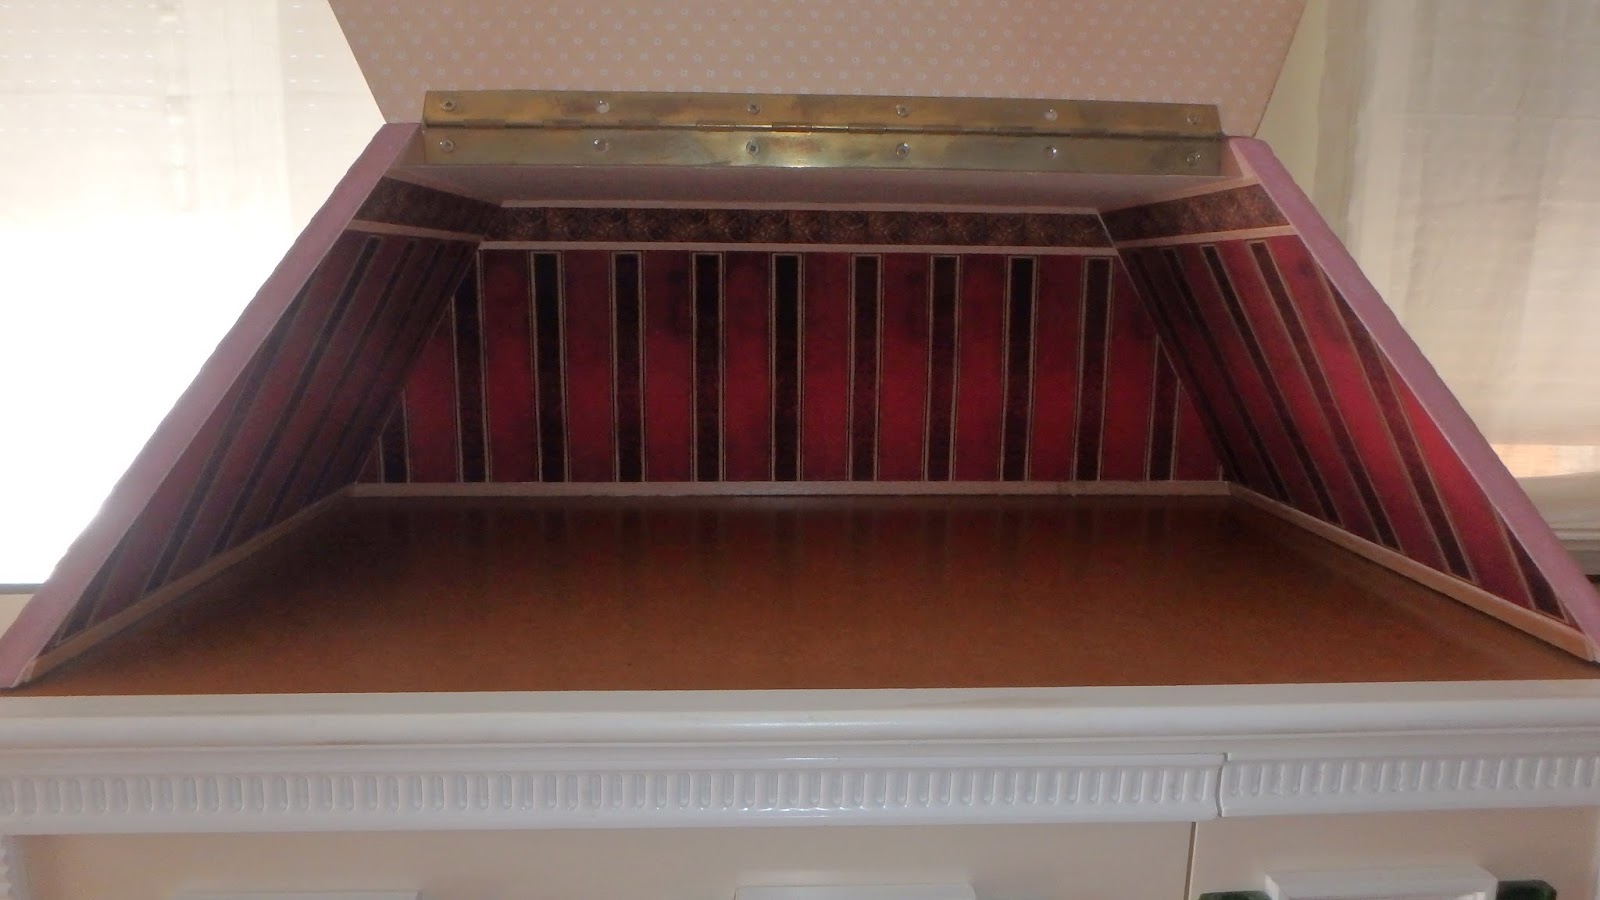
But then I realized that I had not made the last wall, the one that opens up and closes the room. Oh, the horror!
No matter, I printed two more sheets of the red panaled wallpaper, and got ready to finished it. But unluckily for me, the sheets did not cover the whole wall! They lacked about an inch, so I decided to add a decorative wooden trim at the bottom. And lo and behold, now it was finished!


Kassandra is delighted with her new bedroom, and I am very happy she likes it! She says she cannot wait for the rest of the house to be redone. I understand her eagerness, but I need to buy some more double-sided tape first. I spent a whole roll (5 meters) to do just the bedroom.
If you want to see all the renovations in the house, just click here.
No comments:
Post a Comment